Changing the position of pieces of sewing pattern before printout
printout
pdf
export
Sewist software offers a default layout for printout, and sometimes the software may guess wrong. For example, a layout of this dress took 24 sheets:

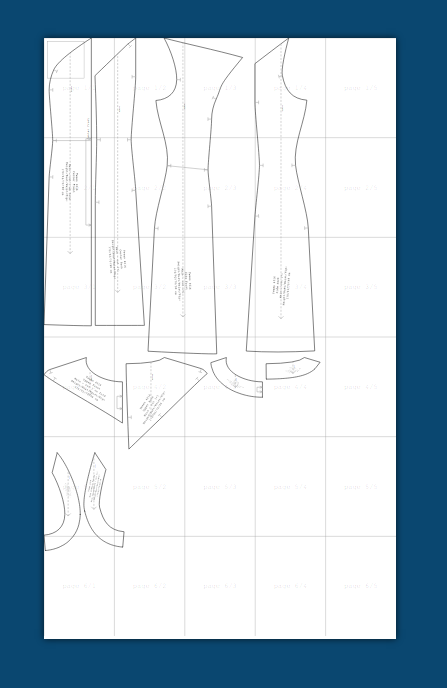
By default, the system tries to keep the width of the printing area reasonable, around four A4 sheets wide. In this case however it might be better to make it 5 sheets wide and save on the horizontal row - or two - in the lower part of the printout.
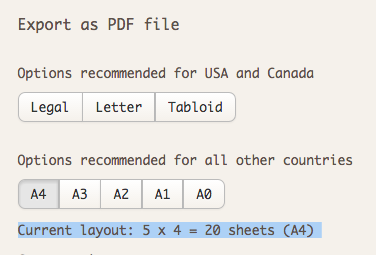
To add a column of A4 sheets, click the add column button  in the top panel on the left.
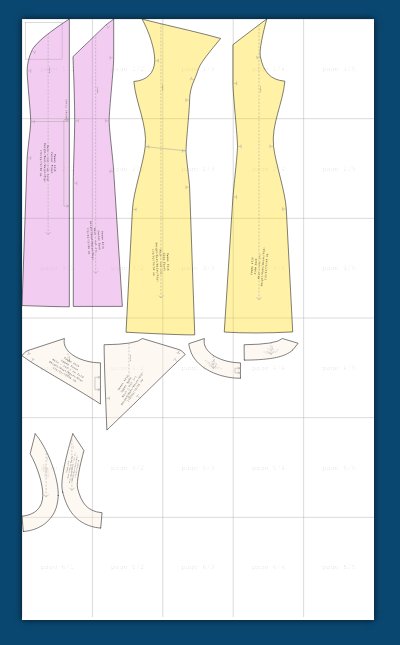
in the top panel on the left.You may click, hold and drag pattern blocks, if you are not happy with their position as offered by the software. You'll be printing in black and white, but you may color pattern blocks on preview only, using this button  in the top panel.
in the top panel.After you change their position you may click the cropping button  to remove blank pages. Blank pages also get deleted automatically once you send your pattern to the server for generating a printout file - but it is nice to have an option to check the final way beforehand.
to remove blank pages. Blank pages also get deleted automatically once you send your pattern to the server for generating a printout file - but it is nice to have an option to check the final way beforehand.The system will update the quantity of the required sheets in the right part, above the button for generating PDF.
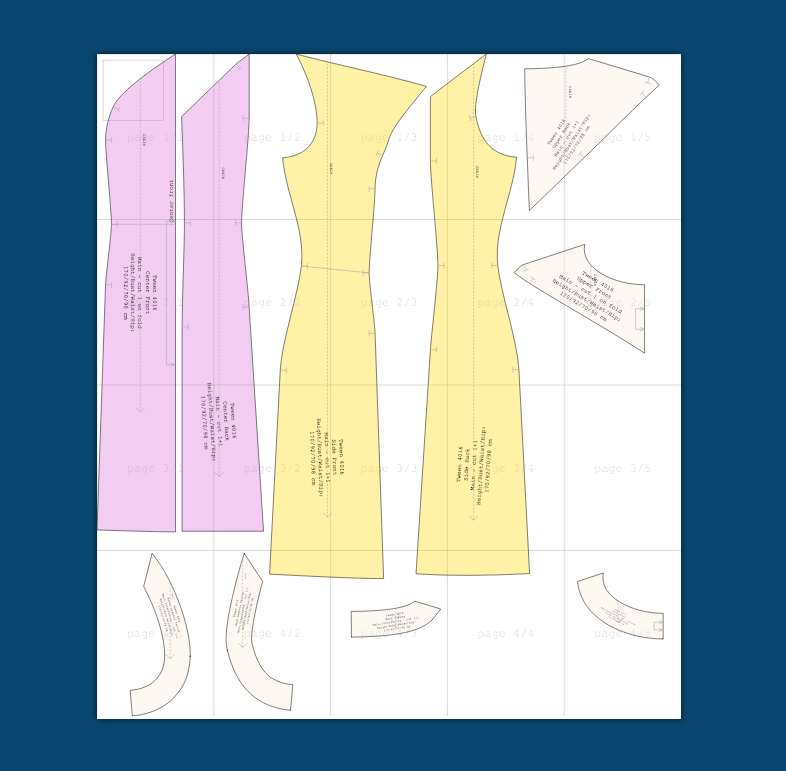
So, we managed to save 4 sheets, or some 15%, using a custom layout.