How to choose names for points and objects
names
variables
apply
meet
We have looked at several ways to make our pattern more readable. Here's another idea.
Name points and objects in a meaningful way
This one is completely up to you, or the pattern drafting system you use. Most drafting system will offer their own methods of naming points, and if you are used to it, that's the easiest way to do things.
Or you can refer to some anthropometric realities when you draft, e.g. I often say W for waist, H for hips, S for side, L for length, R for rear, B for blade, N for nipple, V for venter, P for armPit, and so on. Our page on Anatomical and Anthropometric Landmarks may give you some ideas.
We have already described our settings and made some calculations in our basic skirt pattern.
Now I shall repeat our code for the basic grid, and will change the names of the points, so that they correspond to the templates that you might come across in Sewist.
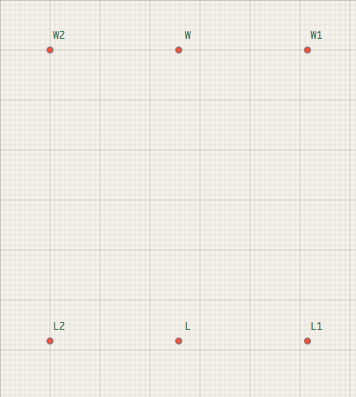
I shall name points on waist level with prefix W, and those on the length level will get names with prefix L. Points, that are closer to center front, are numbered with 1, and the points, closer to center back, are numbered with 2.
// Basic grid
W2=point(10,10) // the first point on the screen, waist, center backW1=apply(W2,hip_width,0) // waist, center frontW=apply(W2,hip_width/2,0) // side seam at the waist levelL2=apply(W2,skirt_length,90) // bottom corner of center back, the length of the skirtL1=meet(W1,90,L2,0) // bottom corner of center frontL=meet(W,90,L2,0) // bottom corner of side seamWe can now add points on the hips level. I shall use "
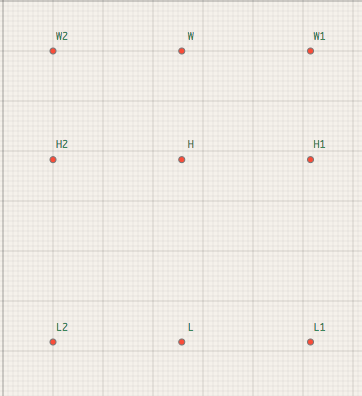
apply" and "meet" again. To make things simpler, Sewist code is case insensitive. Which means you may use small or capital letters as in the example below, and it won't lead to a program error. The points on hip level will get prefix H:
h2=apply(w2,hip_length,90) // hip level on center backh=meet(w,90,h2,0) // hip level at side seamh1=meet(w1,90,h2,0) // hip level on center front
