Sewing Pattern Format and Number of Sheets in PRO Mode of Sewist CAD
Choosing the right format for your sewing pattern and organizing the sewing pattern pieces onto sheets is crucial for an efficient pattern layout and printing. In PRO mode, you have complete control over these aspects.
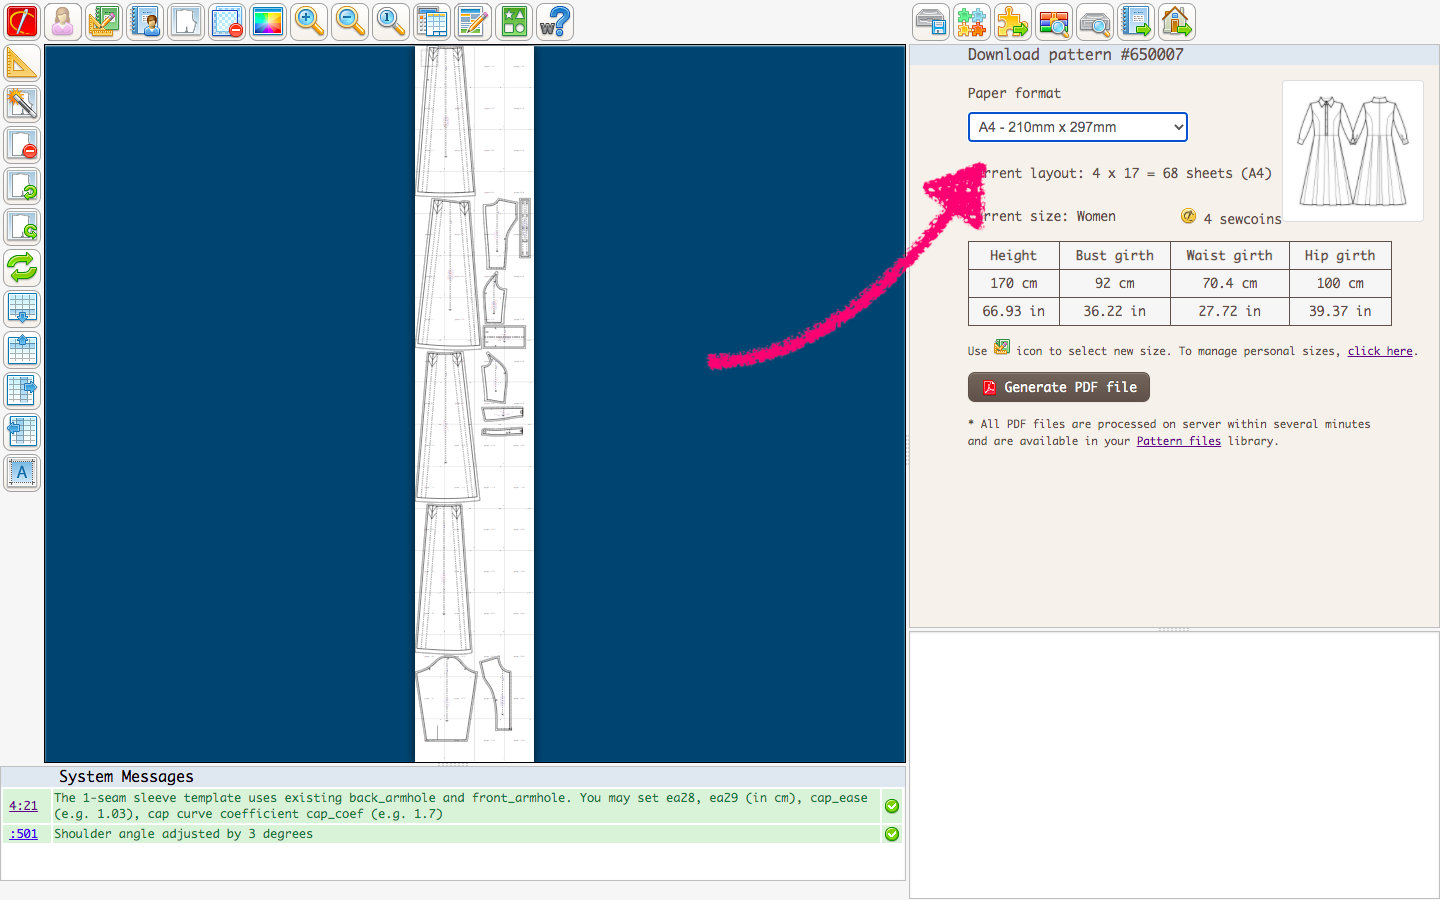
Selecting the Format
Find the dropdown menu on the right side of the screen. This menu allows you to choose the paper format that best suits your needs for printing the sewing pattern. Click on the dropdown menu to see the available options and select the format that matches your printer or printing preferences. The sewing pattern layout will automatically adjust to fit the chosen paper format, ensuring that the pattern pieces are properly scaled and arranged on the paper.
Automatic Arrangement
To optimize paper usage and minimize waste, take advantage of the automatic marker layout feature. Simply click on the icon that represents automatic marker layout -  . This feature will efficiently arrange the sewing pattern pieces on the paper, ensuring efficient cutting and maximum use of space.

Customized Arrangement
If you prefer a more personalized arrangement of the sewing pattern pieces, you have the flexibility to manually rearrange them. This allows you to make the most of the available space and reduce the effort required for assembly. To do this, click on a pattern piece, hold your mouse button, and drag it to your desired position on the paper.
For example, you can strategically place a pattern piece between two pages instead of spanning across multiple pages. This minimizes the number of large pages you need to tape together, especially for larger formats like A0, where the pages can be quite large. This makes the assembly process more efficient and saves you the hassle of dealing with long edges when taping the pattern pieces together.
Adding Rows or Columns
If your sewing pattern requires additional sheets to accommodate all the pattern pieces, you can easily add rows or columns of sheets. Look for the buttons with the following icons: 
 to insert new rows and
 to insert new columns. Simply click on the respective buttons as needed to add more sheets and expand the layout area for your sewing pattern pieces.

Removing Pages
On the other hand, if there are any unused pages that you no longer need, you can remove them to streamline your printing. Simply click on this icon -  - to delete any unnecessary pages from your sewing pattern layout. It's important to note that if you accidentally forget to remove extra sheets, our software is designed to automatically optimize the layout and remove any unnecessary pages during the printing process. So, you don't need to worry about manually checking and removing unused pages before printing. Our system takes care of it for you, ensuring a more streamlined and efficient printing experience.